When it comes to using an iPhone projector, understanding the basics of image size and focus is essential for a great viewing experience. One of the key elements to consider is the image size. The size of the projected image can greatly impact the clarity and visibility of the content. If the image is too small, it may be difficult for viewers to see the details, while a large image may result in pixelation and distortion. Finding the right balance is crucial to ensuring that your projected images are sharp and clear.
In addition to image size, focus is another crucial aspect to keep in mind. Ensuring that your projector is properly focused is vital for a sharp and crisp image. Having a blurry or out-of-focus projection can diminish the overall quality of the content being displayed. It is important to take the time to adjust the focus settings on your iPhone projector, ensuring that the image is clear and well-defined. By paying attention to both image size and focus, you can elevate your iPhone projector experience and enjoy stunning visuals with every projection.
As we delve into the world of iPhone projectors, it becomes crucial to understand the various settings and options available to enhance the image size and focus. These features not only provide customization but also allow for a more immersive viewing experience. By experimenting and familiarizing ourselves with these settings, we can optimize the projection quality to suit different environments and preferences.
One of the fundamental settings to explore is the image size adjustment. Most iPhone projectors offer the flexibility to modify the image size according to the available space. This helps in maximizing the projection screen area, ensuring that the visuals are large and easily viewable. With a simple adjustment, you can transform a standard-size picture into a cinematic experience. Moreover, this setting allows you to adapt the image size to suit various scenarios, such as small gatherings or large presentations, catering to diverse needs.
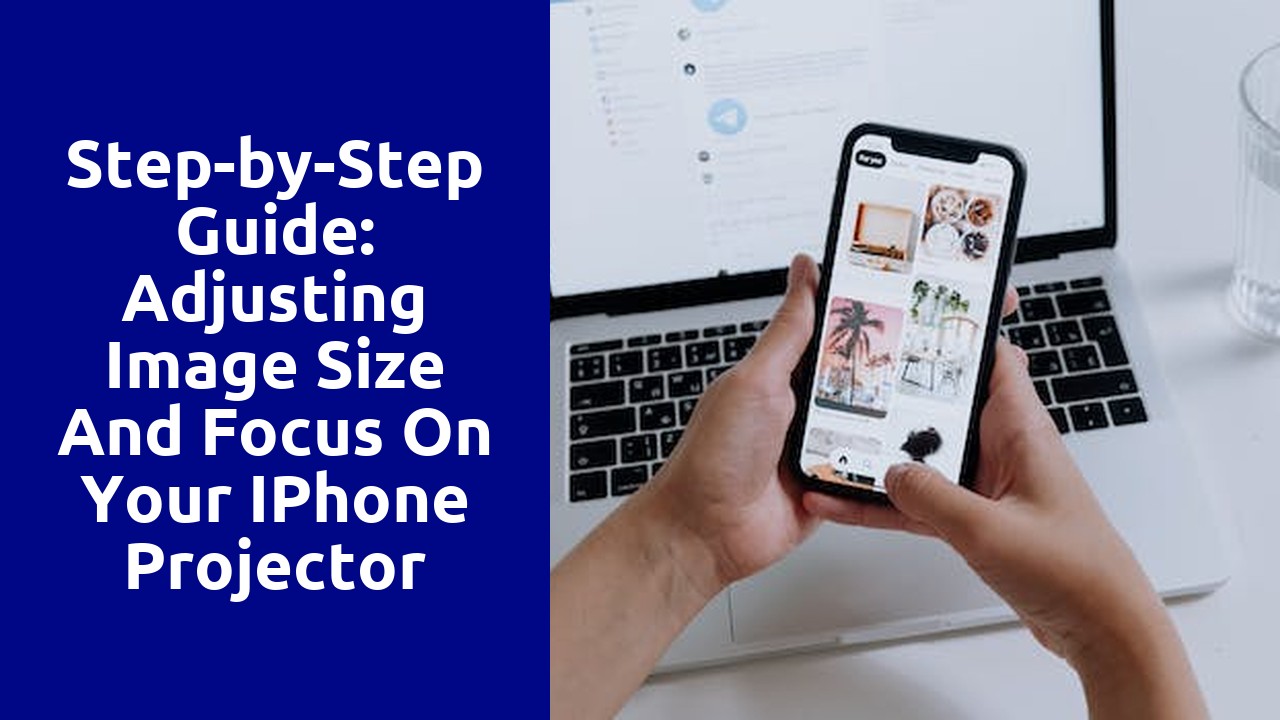
Adjusting the image size on your iPhone projector is a simple task that can greatly enhance your viewing experience. By following these step-by-step instructions, you'll be able to easily adjust the size of the projected image to suit your preferences.
Firstly, ensure that your iPhone is connected to the projector and that the projection is running smoothly. Once you have established a successful connection, locate the settings menu or options button on the projector's interface. This may be a physical button on the device itself or a virtual button on a touchscreen interface. Once found, navigate to the image size or zoom settings. Here, you will find various options to modify the size of the projected image. Adjust the settings using the provided controls or buttons until you achieve the desired image size. It's important to note that the specific process may vary depending on the model and brand of your projector, so refer to the user manual for detailed instructions if needed.
With the image size adjusted, sit back and enjoy your favorite movies, presentations, or slideshows with optimal clarity and visibility. Remember that experimenting with different image sizes can help you find the perfect balance for any given viewing situation. Whether you're hosting a small gathering or a larger event, having control over the image size on your iPhone projector ensures that everyone can enjoy a fantastic visual experience. So go ahead, explore the possibilities, and make the most out of your iPhone projector.
One of the essential skills to master when using your iPhone projector is manual focus. While the autofocus feature works well in most situations, there are instances when it may struggle to accurately focus on your desired subject. This is where manual focus comes in handy, allowing you to have complete control over the focus point and achieve the desired level of sharpness in your projected images or videos.
To manually focus on your iPhone projector, start by opening the camera app and selecting the desired image or video you want to project. Next, locate the focus adjustment tool, usually represented by a small square or circle on the screen. By tapping on this tool, you can adjust the focus manually by dragging the slider left or right until the subject appears sharp and in focus. Remember to take your time and make small adjustments, as even the slightest change can make a significant difference in the overall image quality.
As you become more familiar with manual focus, you will discover its benefits in capturing crisp and clear projected images or videos. Experiment with different focus points, explore creative ways to use this feature, and enhance the visual impact of your projected content.
One of the key features that sets the iPhone projector apart is its exceptional auto focus capability. This powerful tool ensures that you can project clear images without any manual adjustments. To make the most of this feature, it is important to understand how it works and how you can utilize it effectively.
When using the auto focus function on your iPhone projector, it is important to have a clear understanding of the distance between the projector and the surface you are projecting onto. This will help the camera's sensors to adjust the focus accordingly and deliver sharp, clear images. Additionally, it is crucial to ensure that there are no obstructions in the projected area as this can interfere with the auto focus functionality. By taking these simple steps, you can enhance the image clarity and achieve optimal results when using your iPhone projector.
When it comes to enhancing the image quality on your iPhone projector, there are a few techniques that can help you achieve optimal results. First and foremost, it is important to ensure that your projector lens is clean and free from any smudges or fingerprints that can negatively impact the clarity of the image. Use a soft and lint-free cloth to gently wipe the lens and remove any dirt or dust particles.
Another technique to enhance image quality is to adjust the brightness and contrast settings of your iPhone. This can be done by going into the settings menu and selecting the display options. Increasing the brightness can help make the image more vibrant and easier to see, while adjusting the contrast can improve the overall clarity and sharpness. It is also recommended to avoid using the projector in brightly lit environments as this can lead to washed out images. Find a darker space where you can control the lighting conditions for the best results.