When it comes to selecting the perfect iPhone projector, there are a few key factors to consider. Firstly, determine your primary purpose for wanting a projector. Are you looking to enhance your entertainment experience by streaming movies and TV shows on a larger screen? Or do you need a projector for professional presentations and meetings? Knowing the main use will help guide your decision-making process and ensure you choose a projector that meets your specific needs.
Next, consider the brightness and resolution of the projector. These two factors play a significant role in the overall image quality. If you plan on using the projector in a well-lit room or for outdoor viewing, opt for a higher brightness level to ensure clear and vibrant visuals. Similarly, a higher resolution will provide sharper and more detailed images. It's also worth considering the throw distance and screen size compatibility of the projector to ensure it fits well within your viewing space.
To achieve the optimal projection experience with your iPhone projector, finding the perfect spot to set up is crucial. Start by considering the lighting conditions in your chosen location. Too much ambient light can wash out the images and make it difficult to see the projected content clearly. On the other hand, a completely dark room may strain your eyes and make the viewing experience uncomfortable. Strike a balance by selecting a room with moderate lighting, or consider using blackout curtains or blinds to control the amount of light entering the space.
Another factor to consider is the distance between your projector and the projection surface. This distance, known as the throw distance, will determine the size and clarity of the projected image. Each projector model has a recommended throw distance, so be sure to consult your user manual for these specifications. Ensure that you have enough space to position the projector at the recommended distance from the wall or screen. This will help you achieve the best image quality and sharpness. Additionally, consider placing the projector on a stable surface or mounting it securely to prevent any vibrations or movement that could affect the stability of the projected image.
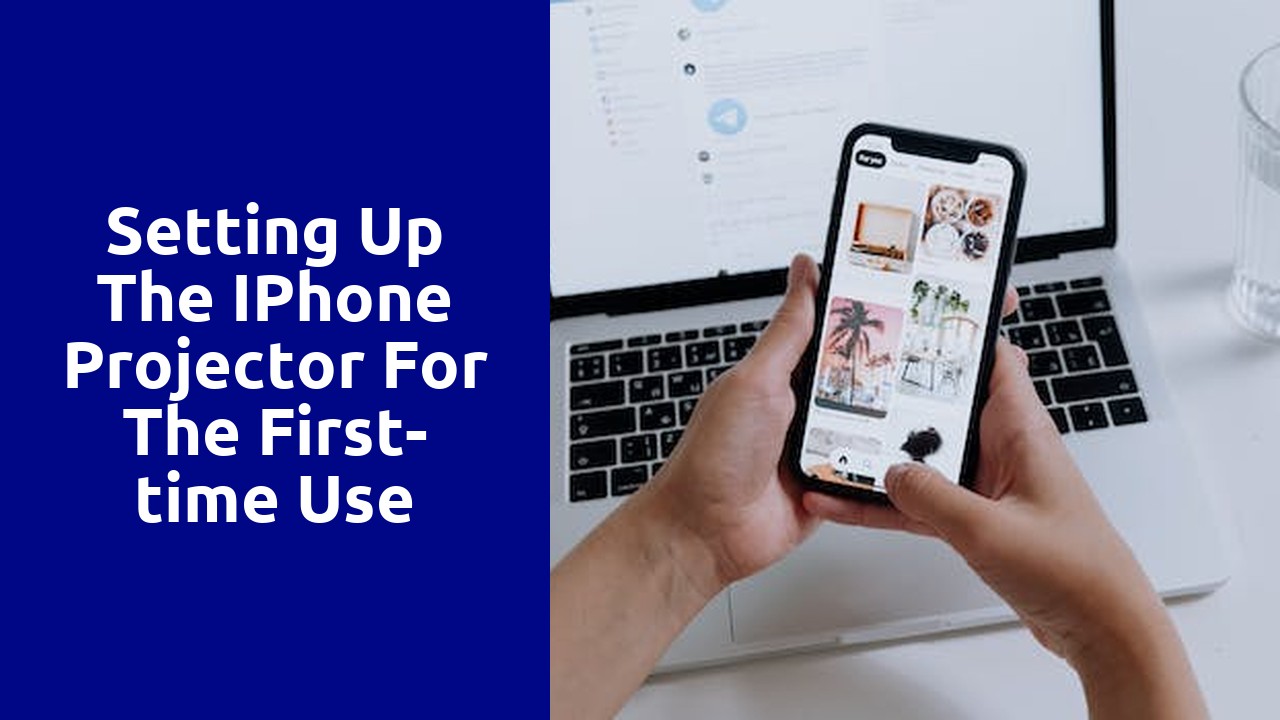
To get your iPhone ready for projection, simply follow these easy steps. First, make sure your device is fully charged or connected to a power source. It's essential to have a sufficient battery level to avoid any interruptions during your presentation. Additionally, check your iPhone's settings and enable screen mirroring or AirPlay if necessary. This will allow you to seamlessly project the contents of your device onto a larger screen.
Next, consider the lighting conditions in the room where you'll be projecting. Dim the lights or, if possible, draw the curtains to minimize glare and ensure optimal visibility of the projected image. It's also a good idea to connect your iPhone to a stable Wi-Fi network, as this will prevent any disruptions or lag in the projection. Lastly, take a moment to organize the content you'll be projecting, whether it's a presentation, photo slideshow, or video. Arrange the files in a logical order or create playlists to easily navigate through the content during your presentation.
There are several simple steps you can follow to connect your iPhone to a projector effortlessly. First, make sure your projector has the necessary ports to connect with your iPhone. Most projectors offer HDMI or VGA ports, but newer models may also have USB-C or Lightning ports. Once you have identified the appropriate port, you will need a corresponding adapter to connect your iPhone to the projector. These adapters can be easily purchased online or at electronic stores.
Next, connect one end of the adapter to the port on your projector, and the other end to your iPhone. Ensure a secure connection is made on both ends. Once your iPhone is connected, turn on your projector and select the correct input source. Depending on the projector, you may need to manually switch the input or press a button on the remote. After that, unlock your iPhone and navigate to the Control Center. Swipe down from the upper-right corner of the screen for iPhone with Face ID, or swipe up from the bottom for iPhone with a Home button. Tap on the "Screen Mirroring" or "AirPlay" option and select your projector from the available devices. Finally, your iPhone screen should be projected onto the projector, allowing you to display your photos, videos, or presentations.
When it comes to getting the best visual experience from your projector, adjusting the settings is key. Taking just a few moments to fine-tune the projector's display can greatly enhance the clarity and overall quality of the image projected onto the screen. One of the first settings to consider adjusting is the brightness. This setting determines the level of light emitted by the projector and can greatly impact the visibility of the image. It is recommended to start by setting the brightness level to its default or mid-range setting and then making small adjustments based on the ambient lighting conditions in the room.
One crucial aspect of any projection system is the quality of its image display. It is imperative to evaluate the performance of the projection by conducting thorough tests. The resolution of the projected image is a significant factor that determines the overall quality. By projecting a variety of test images, including graphics, text, and videos, one can ascertain the sharpness, clarity, and color accuracy of the projection. Additionally, examining the image for any signs of distortion, artifacts, or pixelation is essential to ensure a seamless visual experience. Another critical consideration for testing projection quality is the brightness and contrast levels. By adjusting these settings and observing the impact on the image, it becomes possible to determine the optimal balance for an engaging and vibrant display. Ultimately, thorough testing of the projection quality is pivotal to achieving the desired visual outcome.